


If the point of your inventory is finding things fast, that will shape every choice you make. If it’s for insurance, you’ll need values and condition notes. If you want to trade with other collectors, link each entry to clear photos and catalog numbers. Start by writing a short, two-sentence mission for the system. It keeps you from tracking too much data for no reason.
## Stamp Inventory System Essentials
Think of the system as a working tool, not a trophy. It should make routine tasks easier: locate a stamp, prove ownership, list items for sale, and spot duplicates. Keep the interface predictable and your field names consistent. Use the same abbreviations across every entry so searching doesn’t become a guessing game.
### Core Fields To Track
Pick fields that solve real problems. A dozen well-chosen fields beats fifty vague ones.
– Unique ID (your own running number)
– Image (or link to image)
– Country
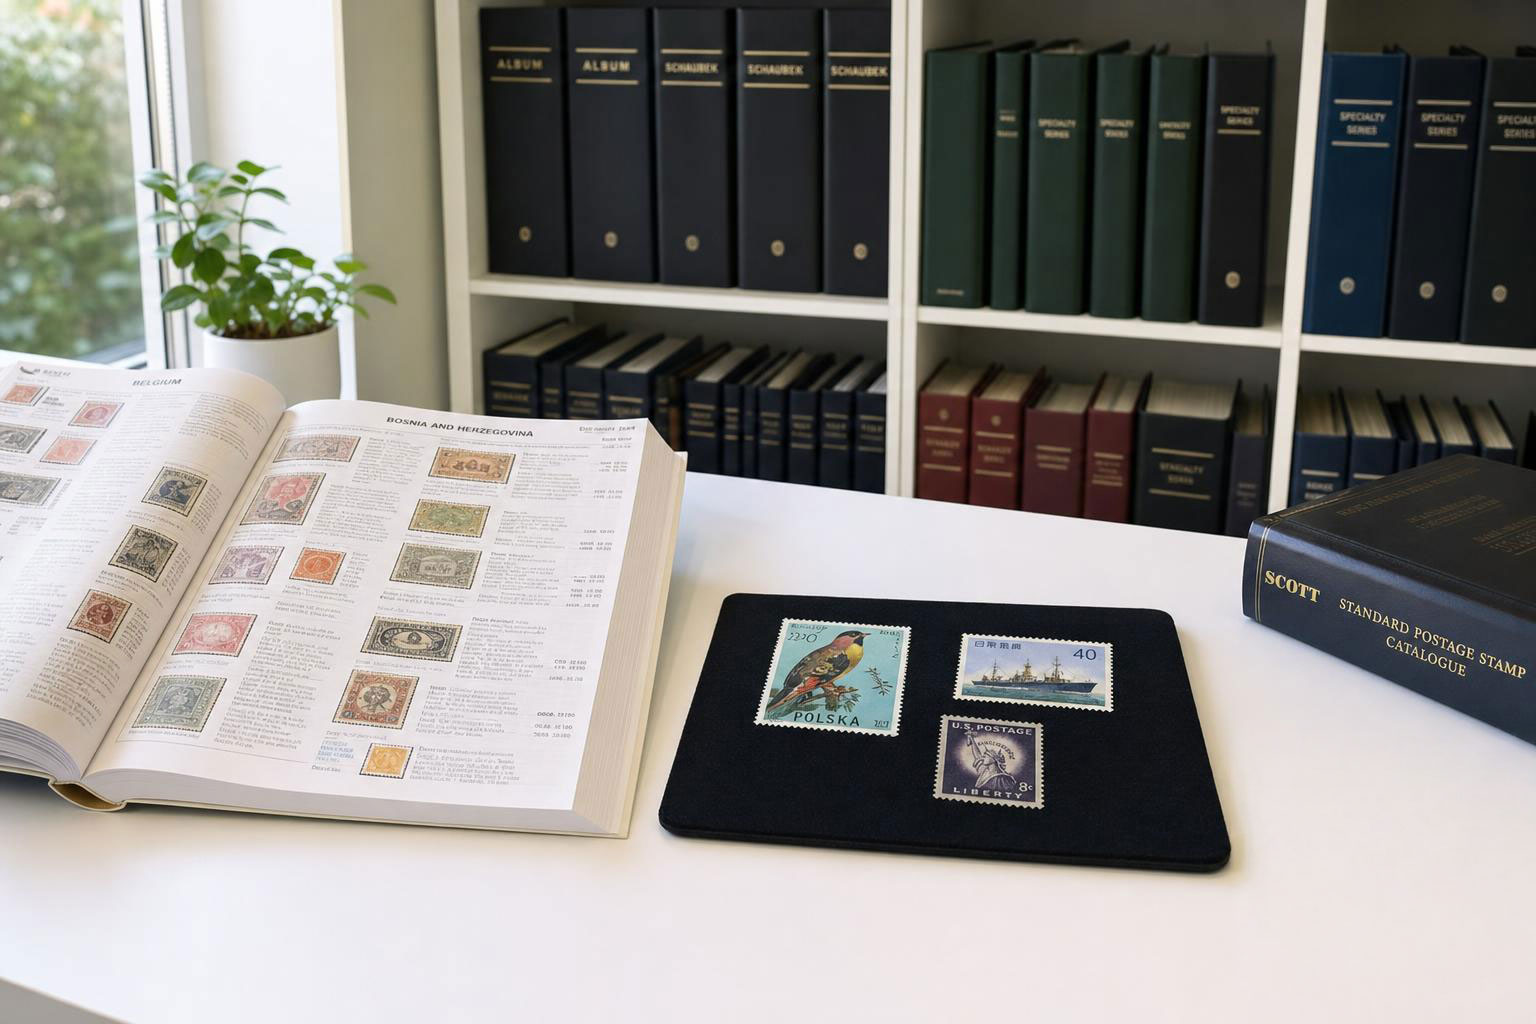
– Catalog Number (Scott, Michel, Stanley Gibbons, etc.)
– Year Or Date Range
– Denomination
– Color
– Subject
– Condition (Mint, Used, Never Hinged, etc.)
– Grade (Fine, Very Fine, etc.)
– Faults (Thin, Crease, etc.)
– Catalog Value (Note the catalog year in the column header)
– Purchase Date
– Purchase Price
Keep the “Unique ID” separate from catalog numbers. That lets you track multiple copies of the same Scott number without confusion. NOTE: There is not a column for “Quantity” on purpose. This is because every stamp is unique in terms of condition, grade, and soundness — so we suggest recording them individually. However, if you would rather choose to group them you can do so and add a “Quantity” column.
## Choosing The Right Tool
Spreadsheets are the best place to start. Google Sheets gives you cloud backup and simple filters. Excel is fine if you prefer offline control. Use columns like “Location” and “Condition” so you can sort the view you need.
If your collection grows into the hundreds or thousands, look at purpose-built software. They often add barcode support, batch image handling, and built-in catalogs. Check for export options: CSV and XML let you move data later if the app disappears.
For mobile convenience, choose a solution that syncs. You’ll add stamps on the go and want to find an entry from a dealer’s table. Test the mobile app with five real entries before committing.
## Photographing And Scanning Stamps
Good photos are the heart of a usable catalog. Shoot on a flat, neutral background with even light. Natural daylight near a north-facing window works well. For tiny details, a scanner at 600 dpi or a macro lens on your phone will capture perforations and gum texture.
Name image files with your Unique ID, not a description. e.g., 000123.jpg. That avoids mismatches when you rename or reorganize later. When you need a watermark image, hold the stamp to a bright light and photograph the reverse; that’s good enough for most records.
Here is a ready-to-paste section you can add after “Photographing And Scanning Stamps” or before “Importing, Backups, And Batch Edits.”
###Storing Stamp Images In Google Drive
Google Drive is a simple way to keep your stamp images organized without making your spreadsheet heavy or difficult to load. Instead of uploading every image directly into the sheet, create a dedicated Drive folder for your inventory photos and link each spreadsheet row to the matching image file.
Start with one main folder called something like Stamp Inventory Images. Inside that folder, you can create subfolders by country, album, year, collection, or selling status. Keep the folder structure simple. The more complicated it gets, the harder it becomes to keep image links accurate.
Use the same file naming system as your inventory. If your spreadsheet uses a Unique ID column, name the image file with that same ID. For example:
000123-front.jpg
000123-back.jpg
000123-watermark.jpg
This makes it much easier to match the image to the correct stamp later. It also helps if you export your spreadsheet, move files, or share part of your collection with another collector.
###Linking Google Drive Images In Your Spreadsheet
The easiest method is to paste the Google Drive file link into your spreadsheet. Add columns such as:
Front Image Link
Back Image Link
Watermark Image Link
Certificate Image Link
To get the link, right-click the image in Google Drive, choose the sharing option, and copy the link. If you want another person to view the image, make sure the file permissions allow access. For private collecting records, you can leave the image restricted and use the link only for yourself.
This method keeps your spreadsheet clean. You still have a direct path to the image, but the sheet does not become cluttered with hundreds or thousands of thumbnails.
###Embedding Stamp Images In Google Sheets
If you want to see the stamp image directly inside your inventory, Google Sheets lets you insert an image into a cell using the menu option Insert > Image > Image in cell. Google’s documentation notes that images placed in a cell cannot also share that same cell with text, so it is best to keep your image column separate from your description, catalog number, and condition notes. (Google Help)
For a small collection, embedded images can make the spreadsheet easier to browse visually. For a larger collection, links are usually more practical because too many embedded images can slow down the sheet and make sorting less convenient.
You can also use the IMAGE function in Google Sheets, but there is one important limitation: Google’s own documentation says the IMAGE function only works with image URLs that are not hosted at drive.google.com. (Google Help) Because of that, a normal Google Drive sharing link is better used as a clickable reference, not as a formula-based image source.
## Numbering, Tags, And Location Mapping
Create an internal ID pattern and stick with it. Use simple codes: ALB-A-12-03 means Album A, Page 12, Slot 3. Print small QR or barcode stickers for album pages if you like scanning. A label maker with clear text is often faster and more durable than adhesive stickers on the stamp mounts.
Tags let you group across albums: “Duplicates,” “For Sale,” “Needs Certificate.” One tag per stamp or multiple tags — your call. When you inventory, record the physical location and the tag at the same time. It saves a second walk through the storage.
### Condition Grading Cheat Sheet
Mint Never Hinged (NH) — pristine gum, bright color.
Lightly Hinged (LH) — small hinge remains, still attractive.
Used — postmark clear or partial, check for thins or tears.
Fine / Very Fine — look at centering and perforation.
Faults — tears, heavy creases, missing pieces; still worth noting.
Use short, consistent phrases. Don’t write a paragraph for condition unless it’s rare or damaged.
## Importing, Backups, And Batch Edits
If you start in a spreadsheet, save a master copy and export regular backups. Use date-stamped filenames: stamps-2026-05-01.csv. Cloud storage plus a local copy is inexpensive insurance.
Batch edits matter. Want to mark 200 stamps as “For Sale”? Make the change in a single view and export. If your tool supports CSV import, prepare one master sheet for imports and validate 10 rows first.
When receiving large lots, don’t try to enter everything at once. Create a temporary “Unsorted” batch with photos and basic notes, then process it in stages. You’ll still have records if you need them immediately for sale or appraisal, and you won’t lose track of details while you hurry.
## Using Your Inventory For Trading And Insurance
Attach clear, dated photos for any item over a set value threshold you choose. Include purchase receipts or certificate references in the record. If you insure your collection, the insurer will want values, evidence of ownership, and proof of condition. A single PDF export with images and metadata is often all you need for a claim opening.
Make a separate, read-only export for potential buyers so you don’t give away internal notes like cost or provenance until you want to.
## Keep It Useful: Rules For Ongoing Maintenance
Never add a new stamp to an album without adding it to the inventory that day. That rule prevents slow drift between physical and digital records. Audit a section of your collection monthly; pick one album or box and check it against the catalog. Keep your wantlist next to your inventory so duplicates become opportunities for trade.
Start small. Add the fields you need now and expand them as questions come up. If someone asks for perforation gauge and you don’t have it, add that field for future entries. Don’t try to capture every possible detail on day one — you’ll stall and never finish.
If you want a quick test: catalog five favorite stamps with photos, Unique IDs, and locations. It’ll show you which fields feel essential and which ones are just noise. You’ll also spot any process bottlenecks before they become a mess you have to untangle later.
Remember to check that your cloud provider will let you export your data. And when you buy a new tool, ask whether it will let you import a CSV from Google Sheets — it will save hours and keep your records fresh. Recieve images in a consistent format and the system will stay tidy.


Ask A Question Or Leave A Comment