


Mounting is the step where a collection becomes stable instead of fragile. Do it right and your stamps stay flat, readable, and valuable. Do it wrong and you risk thins, bent perfs, or ruined gum. Below are practical choices and the exact moves that work for real collections.
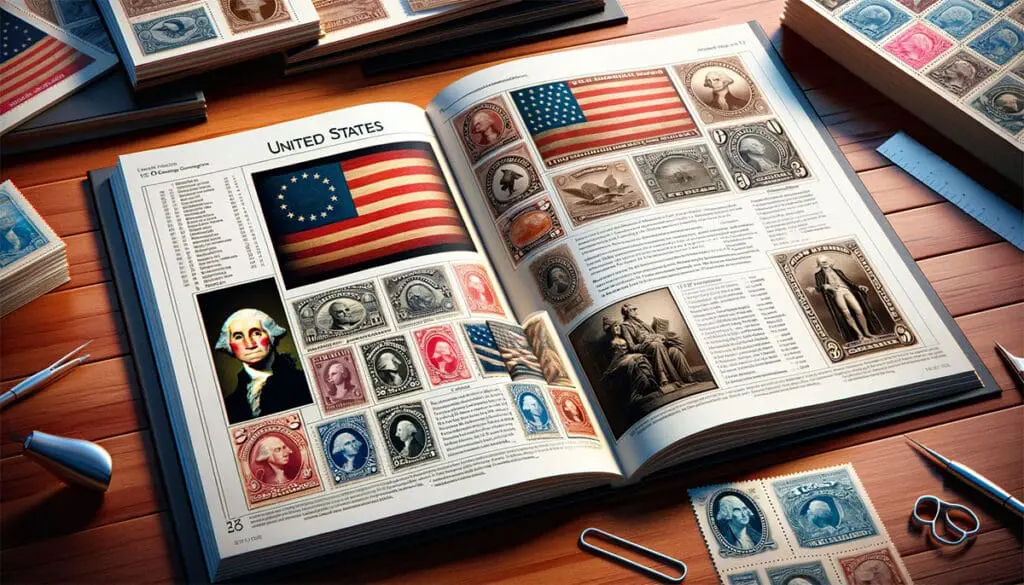
## Why Mounting Matters
A stamp left loose in a drawer will eventually suffer. Edges catch, humidity warps, and even careful handling takes a toll. Mounting controls the environment around each stamp. It protects the face, preserves gum when needed, and keeps perforations from rubbing against neighbors. It also makes your album look like something that was built to last.
### Choosing Between Hinges And Mounts
This is the big decision for most collectors. Hinges are paper, cheap, and fast. Mounts are clear plastic, more expensive, and usually reversible without harming the stamp. For common, used material you’ll use hinges. For mint stamps with original gum, or anything remotely valuable, use mounts.
#### Pros And Cons Of Hinges
Hinges let you secure used stamps in albums without concealing the front. They bleed adhesive less if you buy good quality, thin paper hinges. But they touch the back of the stamp and can leave residue. Repeated hinging and hing removal creates thins. Use hinges when the stamp’s value is modest and you want flexible placement.
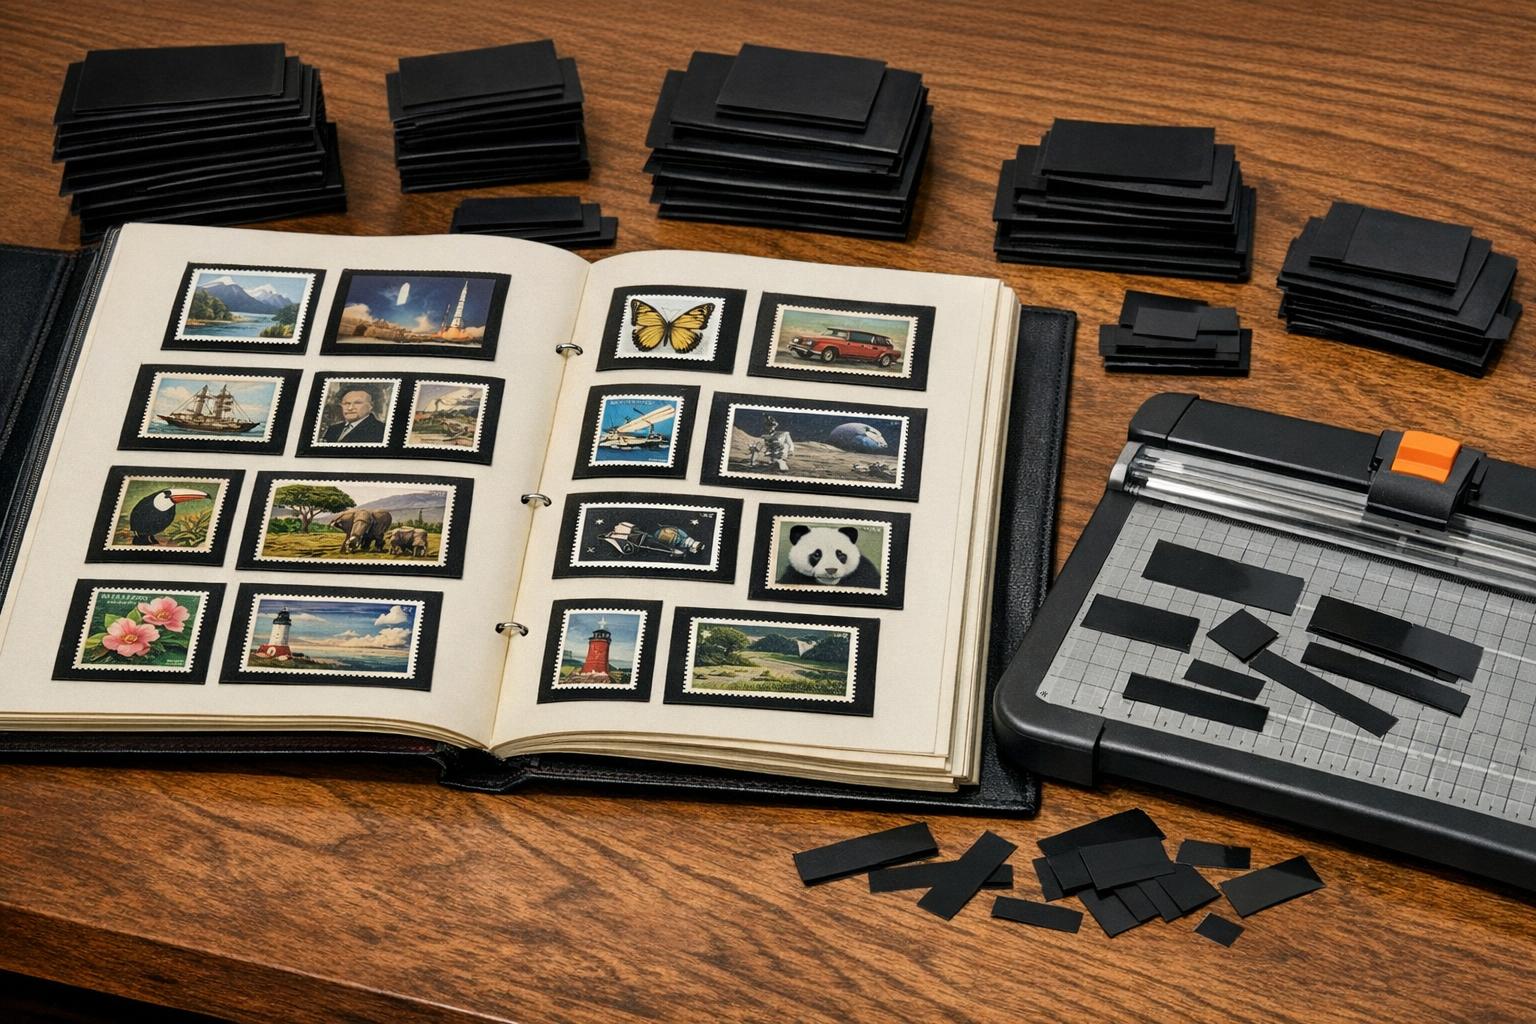
#### Pros And Cons Of Mounts
Mounts hold the stamp without touching its front or back. They come pre-cut for common sizes and in universal sheets you trim yourself. They protect the gum and guard perfs. The downside: mounts add thickness to a page, and poor-quality mounts can be PVC-based and damage stamps over time. Buy archival, PVC-free mounts.
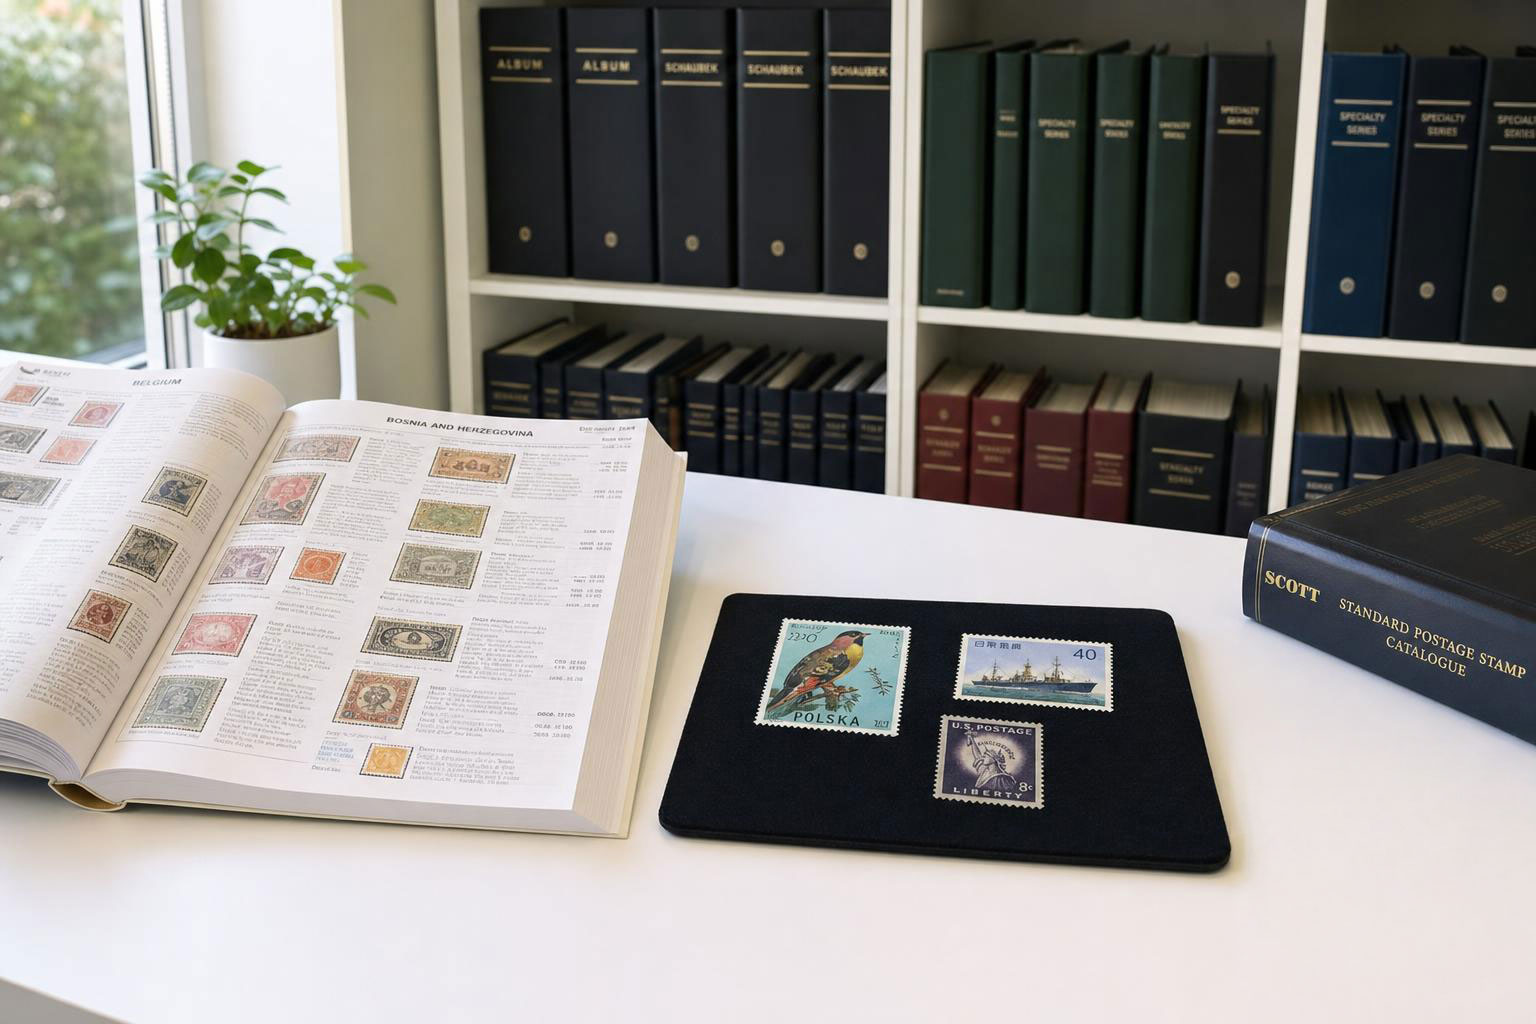
### Tools And Materials You Actually Need
You don’t need a workshop. A steady pair of stamp tongs, a soft brush for dust, a cutting mat, a steel ruler, and a craft knife will do most of the work. Add a pack of archival mounts in a few sizes, some quality hinges, and a perf gauge if you routinely size stamps. Keep a bottle of distilled water for soaking and a stack of blotting paper for drying.
### Sizing And Cutting Mounts
Measure the stamp and give it a small margin. About 1.5 to 2 millimeters of clear border on each side keeps the perfs from touching the mount edges and lets the stamp breathe. If you trim mounts yourself, score and fold slowly, then cut. Rushing leads to ragged corners or slicing into the mount. A craft knife and metal ruler on a cutting mat give the cleanest edges.
#### Measuring Stamps Accurately
Lay the stamp face up on a flat surface. Use a steel ruler and read at eye level. For irregular perfs measure the maximum height and width. Record the numbers; you’ll buy mounts faster and waste less material.
#### Trimming Without Damage
Trim with the mount face down so any cut misalignment won’t nick the stamp. Hold the ruler firmly, cut in one smooth motion, and don’t saw back and forth. If you’re making multiple mounts the same size, make one perfect template and copy it.
### Hands-On Mounting Steps
A clear, repeatable process saves mistakes. Work on a clean table with good light. Handle stamps with tongs, not fingers. Keep your workspace free of food and tape.
#### Using Mounts Step By Step
Slide the stamp into the mount from the open side, keeping it centered. For perforated stamps, let the top edge sit a hair below the mount’s upper lip so it won’t lift when someone flips the page. Seal only if the mount is meant to close; many collectors use mounts that simply hold the stamp inside without adhesive. If you’re using self-adhesive mounts, test on a low-value stamp first.
#### Applying Hinges Properly
Use only a small hinge and attach it to the top center of the stamp back. Moisten a tiny corner of the hinge, place it on the stamp, then fold the other half to the album page. This creates a hinge that lets the stamp lift for inspection. Never stick hinges across a gum surface you want to preserve. When removing hinges, work slowly and soak if necessary.
### Special Situations
Not every stamp fits the generic approach. Some need extra care.
#### Mint Versus Used Stamps
For mint stamps with original gum, mounts are almost always the right choice. The gum is what buyers and future you care about. Used stamps can take hinges, but be mindful of old paper and brittle gum. If a used stamp is fragile, treat it like a mint in terms of mounting.
#### Souvenir Sheets And Odd Sizes
Souvenir sheets, labels, and booklets often require a custom approach. Buy oversize mounts and trim them carefully, or use clear sleeves that allow the sheet to lie flat. For very small stamps consider double mounts: a small inner mount for the stamp and a larger outer mount to sit on the album page.
### Long-Term Care And Storage
Mounting is only part of preservation. The album, storage box, and room conditions matter.
#### Humidity, Light, And Materials
Keep collections in moderate humidity, roughly 40 to 55 percent. Too dry and hinges dry out and brittleness appears. Too humid and mold becomes a risk. Avoid direct sunlight; UV fades color. Use archival, acid-free album pages and PVC-free mounts. If you place silica gel packs in the storage box, check them periodically.
#### Transporting Collections
When you move stamps, keep them flat and immobilized. A padded album case or a rigid portfolio is better than a soft bag. For shows, put loose items in a plastic container inside a padded carry case. Don’t stack albums without separators; pressure can distort stamps over time.
### Fixing Common Problems
If a stamp lifts in its mount, it may be the wrong size or the mount warped. Replace the mount with the correct size. For foxing or spots, stop and isolate the affected piece. Treating mold or staining requires experience; consider consulting a restorer. For thins caused by hinge removal, mount the stamp in a clear sleeve and mark its condition in your catalog so future handlers know.
Keep your tongs clean. A stray particle under a stamp will leave a permanent impression. And yes, occasional mistakes happen. One careful repair done right will save more stamps than trying to rescue everything at once. Teh best approach is deliberate and slow.


Ask A Question Or Leave A Comment